
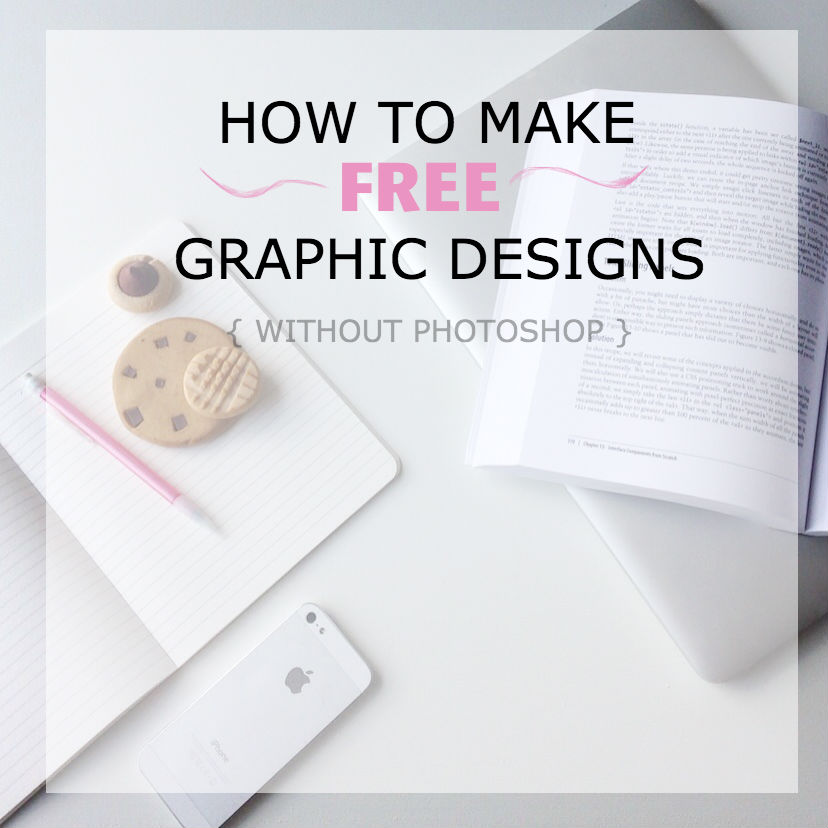
Make Graphic Designs For Free & Without Photoshop
Photoshop is amazing for all of its tools and functions, but not everyone can afford Creative Cloud or the time it takes to learn Photoshop. If you're a marketer or blogger and you need to make graphic designs, Pixlr is a tool that's simple enough to use but complex enough to have plenty of options.
WHY You'll LOVE PIXLR
| free and in-browser | cross-browser friendly |
| available on all platforms | simple interface |
| plenty of features | faster to learn than Photoshop |
Pixlr is free and can be used on any platform (Windows, OSX, Linux) and runs right in your web browser, so you don't have to download any software to your computer.
It's simple to use but can perform a wide variety of tasks, making it a great tool for personalizing your blog posts like a pro... even if you can't afford Photoshop.
How to use Pixlr to make free graphic designs:
1. Open the Pixlr Editor & Set up your document
You could make a long vertical image for Pinterest/Tumblr, or a square sized image for Instagram.
- Make sure that the ratios are at least ~900x900px for better resolution - but don't upload anything greater than 1600x1600px to your website in order to preserve load times and performance.
2. Import an image
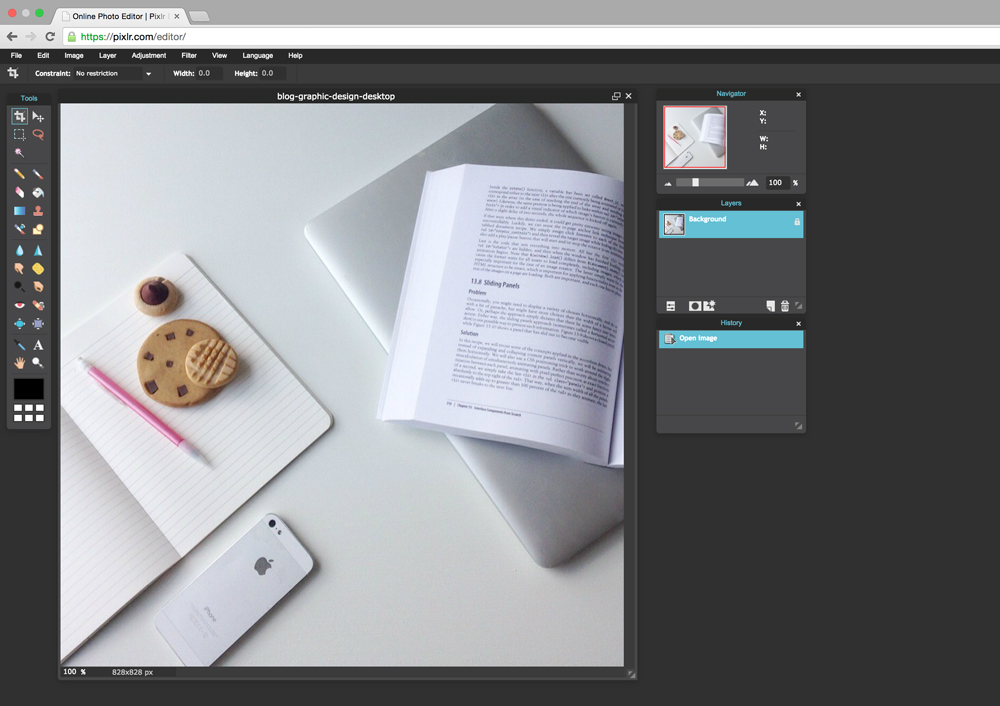
Even a cell phone shot of flowers can work, but high-quality images are best!
3. Be sure to use layers
You'll want to work with new layers for each design addition. Text will automatically create its own layer, but you'll have to click "add new layer" in the layer palette in order to have a layer to draw on or make color blocks.
- Use layers for each new design element. That way if you make a mistake, you can just hide that layer rather than starting completely over.
3. Make sure your text can stand out
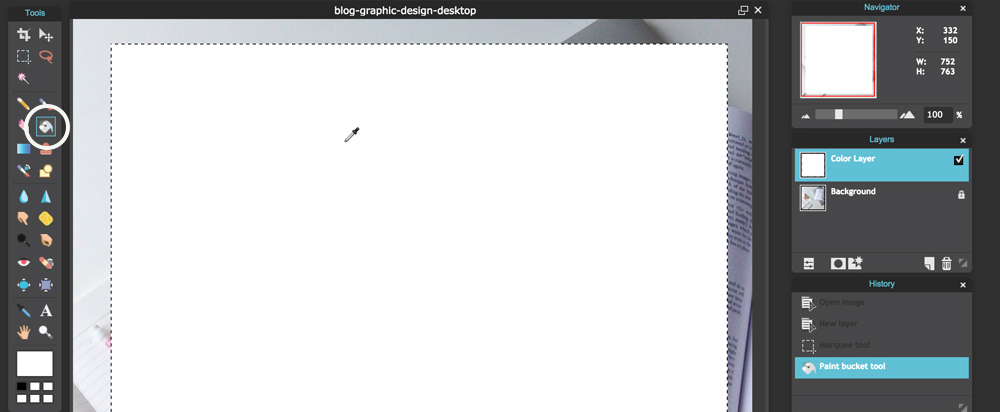
- Using the marquee tool, draw a square shape on your image
- Select the paint bucket and fill the square with a color
- Choose a low opacity in the navigator options (this can be changed even after finishing your color block).
- Now, you have a simple color block layer to help your text stand out. Try out varying opacities, sizes, and arrangements and find a style you prefer!
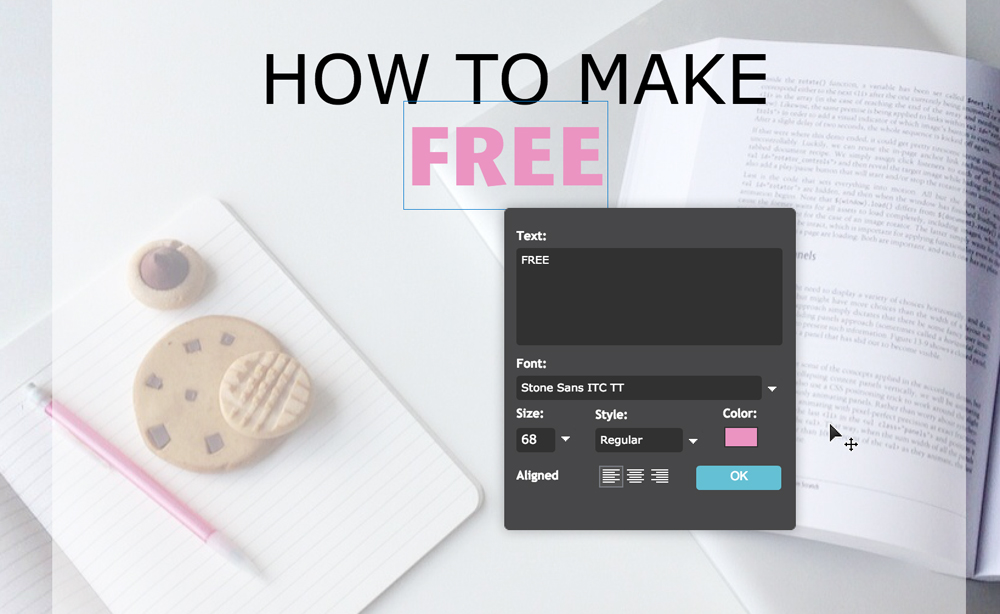
4. Select the text tool, and modify your text
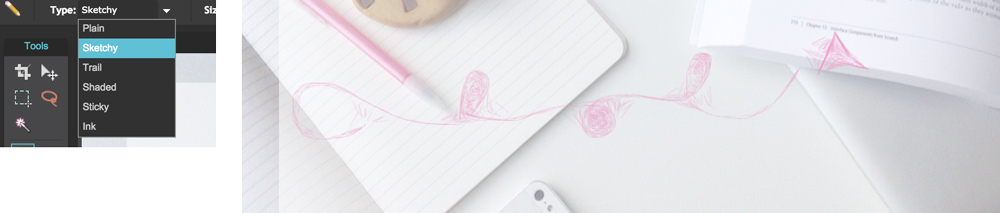
5. Try out the pencil tool and add custom elements to your design.
6. Export via File > Save.
Easy! Even though I am most comfortable in Photoshop, I made this blog's graphic in Pixlr in just a few minutes with my image, a color block layer, text, and the pencil tool.